Freebie Friday: Kokeshi Amigurumi Doll
Following on from yesterday's look at Amigurumi, we've got a brilliant free pattern for you to try
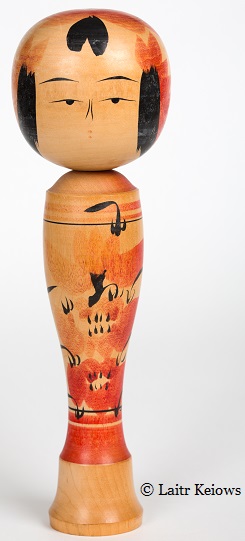
Amigurumi Kokeshi DollÂ
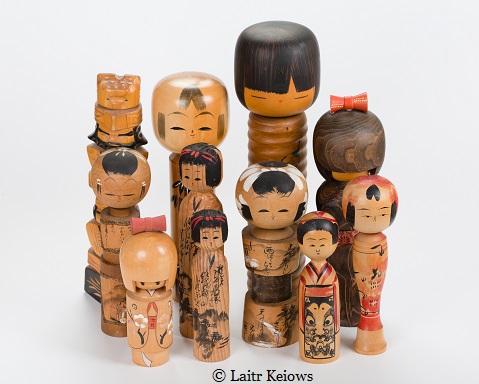
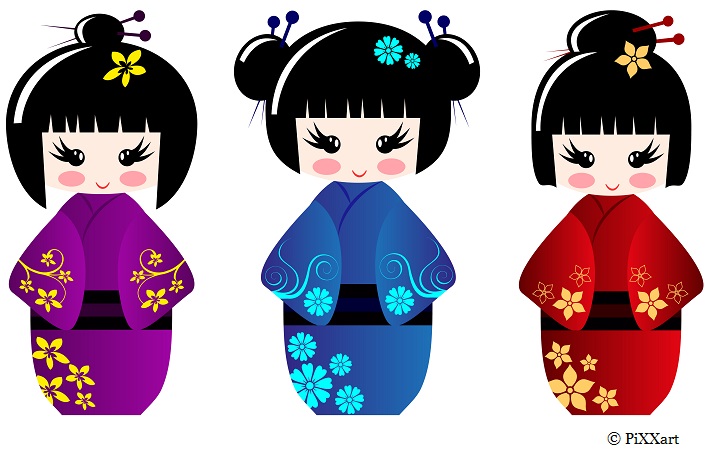
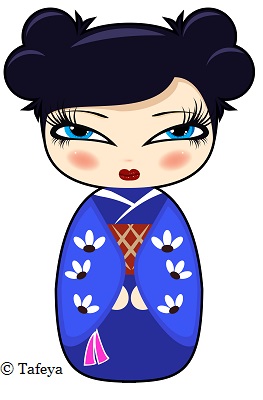
Kokeshi dolls originate in Nortern Japan and are usually handmade from various woods. It is believed that these dolls were first made during the Edo Period, but with their small tube or trunk-like bodies and oversized heads they have inspired many products in today's popular culture – for example the Mii avatars on a Nintendo Wii is based off of a Kokeshi.
Amigurumi Kokeshi Doll– Yuuii
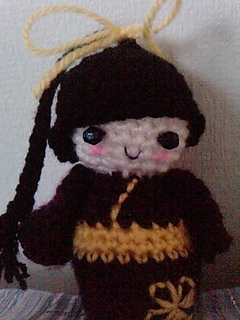
While not traditional, Alexandra Boonstra's amigurumi version is cute and would make a great keyring, accessory or trinket gift.
Please note: This pattern uses US terminology, a free helpful translation guide can be found here: www.insidecrochet.co.uk/tutorials
Materials:
White acrylic yarn
Purple acrylic yarn
Yellow acrylic yarn
Black acrylic yarn
Fiberfill
Embroidery floss
Embroidery needle
Two dark colored beads
3.5 mm crochet hook
Little buttons and beads to decorate (optional)
Tension:
Exact tension is not essential. Ensure you are crocheting tightly enough that the stuffing won't show through, if not, go down a hook size.
Designer Biography:
Alexa Boonstra is 23 years old and was taught to crochet by her mother when she was 5. As well as crochet, Alexa enjoys drawing (mangastyle or realism), running, reading and knitting (although she prefers crochet!). Alexa is in her second year at University in
Rotterdam, where she is studying to be a nurse.
Pattern notes:
This pattern is crocheted using continuous rounds, you don’t have to join rounds UNLESS noted otherwise. This means you need a stitch marker to keep track of where the new rounds start. Move up the marker when you start a new round. Make sure you crochet tightly enough, so the stuffing won’t show trough, otherwise take a smaller hook.
Please note: This pattern uses US terminology throughout, a free helpful translation guide can be found here: www.insidecrochet.co.uk/tutorials

Head:
Using white
R1: ch 2, sc 6 in 2nd ch from hook (6sc)
R2: *sc 2 in next sc*, x6 (12sc)
R3: *sc 1, Sc 2 in next sc* x6 (18sc)
R4: *sc 2, sc 2 in next sc* x6 (24sc)
R5 - R9: sc 24 R10: *sc 2, dec 1* x6 (18sc)
Add eyes and mouth, draw a little pink blush with a feltpoint. Begin stuffing
R11: *sc 1, dec 1* x6 (12sc) R12: *dec 1* x6 (6sc)
Finish stuffing Bind off, and leave a tail to close up. Don't weave in ends, you'll need it to embroider the body
Body/Kimono:
You start at the bottom of the Kimono and work your way up
Using purple
R1: ch 2, sc 6 in 2nd ch from hook (6sc)
R2: *sc 2 in next sc*, x6 (12sc)
R3: *sc 1, Sc 2 in next sc* x6 (18sc)
R4: *sc 2, sc 2 in next sc* x6 (24sc)
R5 – R8: sc 24
Switch to yellow
R9 – R10: sc 24
R11: *sc 2, dec 1* x6 (18sc)
Switch back to purple and cut the yellow tread leaving a little tail.
R12: sc 18
Weave in the yellow tail Using yellow, embroider a little flower at the purple part underneath the yellow band Begin stuffing
R13: sc 18
R14: *sc 1, dec 1* x6 (12sc)
R15: sc 12
Fasten of and weave in ends Add other details like flowers Finish stuffing
Sleeves:
Using purple
R1: ch 2, sc 5 in 2nd ch from hook (5sc)
R2: *sc 2 in next sc*, x5 (10sc)
R3 – R5: sc10
R6: *sc 1, sc 2 in next sc* x5 (15sc)
R7: sc 15
R8: *sc 2, sc 2 in next sc* x5 (20sc)
Fasten of and weave in ends
Repeat this two times Sew sleeves to body Sew head to body
Hair:
R1: ch 2, sc 6 in 2nd ch from hook (6sc)
R2: *sc 2 in next sc*, x6 (12sc)
R3: *sc 1, Sc 2 in next sc* x6 (18sc)
R4: *sc 2, sc 2 in next sc* x6 (24sc)
R5 – R7: sc 24
R8: sc 16, turn your work (16sc)
R9: ch 1, sc 15, turn your work (16sc) R10: ch 1, sc 2, dec 1, *sc 3, dec 1* x2 (12 sc)
Fasten off and weave in ends.
Finishing:
Now the braid on top of her head
Cut tree long pieces of black yarn. Hold them together while you hook them trough the little hole on top of her “hairâ€. That should be the place where you started crocheting. You’ll have three strands coming out of the top and three strands coming out a stitch next to the top. Put these strands together and start making your braid. Make sure the strands of hair are the same size. It’s up to you if you want to have a long or a short braid, so cut the yarn to the desired length. When your braid is finished, tie it off with a little ribbon.
You’ve finished your own little Kokeshi!
You can personalise your Kokeshi Doll by varying the colours, hairstyle and decoration, go on, give it a try!
Tell us your thoughts below.
Sorry, there have been no comments on this blog post yet - why not be the first to leave your opinion?

Show your support for Inside Crochet Magazine by adding a button to your website. Simple copy and paste the HTML code below onto your website:
 Read Inside Crochet magazine on the go anywhere in the world with our digital downloads. Available now for iPhone, iPad, Kindle, Blackberry, Windows 8 & Surface!
Download now →
